Rintama High Districts and Routes
Navigate Hokuheki City from campus to vendor alleys without getting lost.
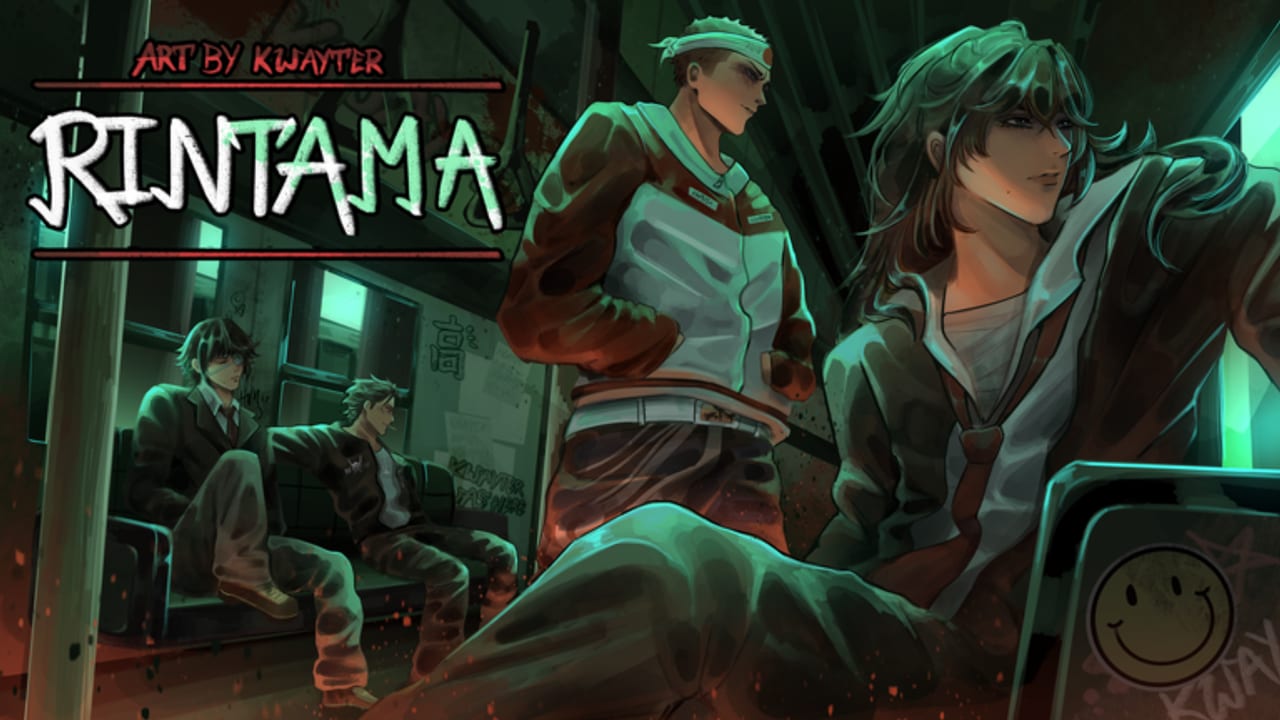
Hokuheki City is the open-world backbone of Rintama High by o7 Delinquent Café. New players spawn near school, open the phone map, and still wander in circles hunting jobs or Kamasaki Yuri. This districts guide names the major zones — campus, Horiguchi, Shofukucho and Shakucho, commercial streets — and explains how to chain them with skateboard travel for Yen, styles, and safe roleplay.
Pair this page with map and NPCs for vendor names and getting started for phone basics.
School campus — your anchor
The school is the social hub: classes, basketball, volleyball, soccer, club hangouts, and first-day tutorials. Passive Mode defaults matter here — keep it on for RP unless everyone expects otherwise. Read school life and school sports for campus etiquette.
Campus also starts the vendor route to fighting styles. From school, head toward Horiguchi Area before cutting into Shofukucho or Shakucho District where Kamasaki Yuri sells Brawler, Rush, and Beast. Full purchase steps live in change fighting style and fighting styles.
Horiguchi Area — the connector
Horiguchi bridges campus energy and downtown grit. Job markers, NPC clusters, and alley tension often concentrate here. Treat Horiguchi as a connector district:
- Skate through instead of walking every leg.
- Open the phone map before accepting long cross-city trips.
- Note where Passive Mode flips are socially acceptable — not every alley wants PvP.
Job income loops from get a job and farm Yen frequently mention Horiguchi as part of a triangle with school and commercial strips. Pick a cluster, finish tasks, bank Yen, then decide whether to buy styles or restock at Old Man Aizawa’s Store.
Shofukucho and Shakucho — styles and alley PvP
Community routing consistently places Kamasaki Yuri along the school → Horiguchi → Shofukucho/Shakucho path. Prices shift during launch week — Rush near four thousand Yen, Beast near twenty-five hundred, Brawler as the on-ramp — but the geography stays the same. No mid-fight style swap and no refunds, so walk this route once with Yen already saved.
Shakucho alleys attract duelists once Passive Mode drops. Enable Shift Lock before you press G — see combat and controls and keybinds. Roleplayers can skate through with Passive Mode on and never engage.
Masahiko Kenzaki Tori handles Potential checks elsewhere on your map literacy journey — potential guide.
Commercial streets and konbini clusters
Commercial districts host shops, snack runs, and secondary job nodes. Old Man Aizawa’s Store sells Straight Tea for one hundred twenty Yen, Actual Lollipop for one hundred fifty, and Notebook for two hundred fifty — cheap individually, expensive as an impulse habit. Buy when you have a spar plan, not whenever you skate past.
Commercial loops pair well with code spikes from codes before you commit thousands of Yen to a style on the tier list.
Skateboard travel tips
Walking Hokuheki City kills coins per minute and wastes session time.
- Equip skateboard before leaving campus.
- Open map, mark next job or vendor.
- Ride edges of districts instead of random interior zigzags.
- Relog or respawn at school if you get turned around — re-run the Horiguchi connector.
The embedded community video shows first-hour wandering; pause when the creator reaches recognizable landmarks and mirror their turns once.
Job routing by district
Think in triangles, not lines:
- School corner — short tasks, social scenes, easy reset.
- Horiguchi edge — medium jobs, connector travel.
- Commercial third point — shops, longer loops, banking Yen.
Complete the triangle twice before spending. If one node is contested by PvP, flip Passive Mode or hop to the next edge instead of standing still. Random wandering hurts income more than any weak job node.
PvP alleys versus RP zones
Delinquent fantasy needs both classrooms and street fights. Schedule spars after school in agreed alleys — not mid-class emotes. Fighters should read fighting styles tier when ready. Pure roleplayers keep Passive Mode on across every district.
District checklist for new players
- Redeem codes at school Settings.
- Learn map app and skateboard from getting started.
- Run one job triangle through Horiguchi.
- Walk the vendor route to Kamasaki Yuri with Yen saved.
- Check Potential with Tori if you skipped it.
- Return here after updates retune payouts or NPC placements.
Hokuheki City stops feeling empty when you name its districts and chain them deliberately. Campus starts the story; Horiguchi connects it; Shofukucho and Shakucho pay off combat investment.
Night routes and server density
Peak hours pack commercial streets and alley choke points. Job players should shift loops to quieter campus edges. Fighters should agree duel spots in chat before skating into Shakucho crowds. Passive Mode protects bystanders — toggle it intentionally.
Customization detours
Marketplace clothing IDs and height rerolls from reroll tokens do not require downtown vendors, but fashion sessions fit naturally between commercial konbini runs. Screenshot looks near shop windows for Discord character channels on wiki links.
When developers retune the map
Launch-month patches move NPCs, job payouts, and exploit patches — watch code names like STYLEJOBMONEYFIXES on updates. If a triangle suddenly pays less, rotate districts instead of quitting the loop.
Frequently Asked Questions
Quick answers to the most common questions.
What districts exist in Rintama High?
School campus, Horiguchi Area, Shofukucho/Shakucho, and commercial street clusters across Hokuheki City.
How do I reach Kamasaki Yuri?
Route from school through Horiguchi toward Shofukucho or Shakucho. See change fighting style for steps.
Should I walk or skateboard?
Skateboard for every cross-district trip. Walking wastes time and Yen per minute.
Where do PvP fights usually happen?
Shakucho alleys and contested street edges once Passive Mode is off. Agree on spots first.
Where is Old Man Aizawa's Store?
Commercial districts — see map and NPCs for exact placement and item prices.
What if I get lost after relogging?
Respawn near school, open the map, and repeat the Horiguchi connector toward your goal.